15 Step Guide to Start Blogging Today
Have you ever had the urge to start a blog? That urge to tell the world all about the things you know best – dating advice, make up, beauty and so on. Then why haven’t you?
No matter what you might think is your challenge, it is actually very easy to set up your blog. Yes, it is very easy. And should take you less than 10 minutes, No kidding!
After years of creating amazing magazines and blogs we have learned a few tricks about blogging and by far one of the most important is being able to have the blog up and running as fast as possible. Once you finish up the basic “bureaucracy” behind setting up the blog you can then begin the rewarding part – writing and creating amazing content for your blog.
So here is what you need to kick start your blog:
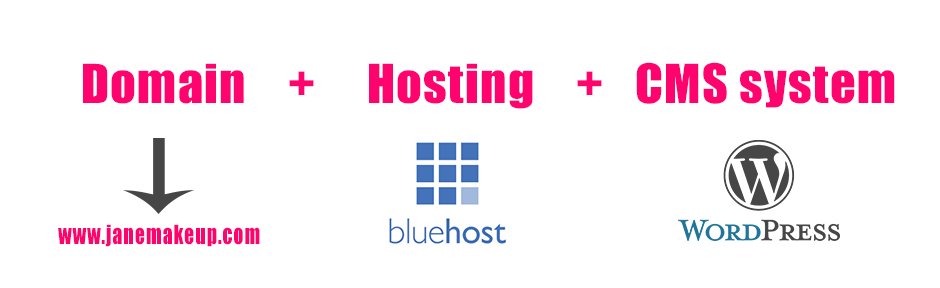
It sounds complicated but it’s not, once you have decided what hosting company you are going to use you can also buy the domain and get the CMS installed with a few clicks. For this guide we decided to use BlueHost because it is reliable, fast and very easy to set up. There is so many hosting options it can be overwhelming, soon we will create a post to compare between the top companies but if you want to get this done without a hassle we would recommend BlueHost as the first choice.
Setting Up A Hosting at BlueHost
We have broken down the process in 15 steps, the reason for this is that we wanted to make sure to cover every detail. The truth is, this system is so user-friendly you will have your site up and running in less than 10 minutes.
So here we go!
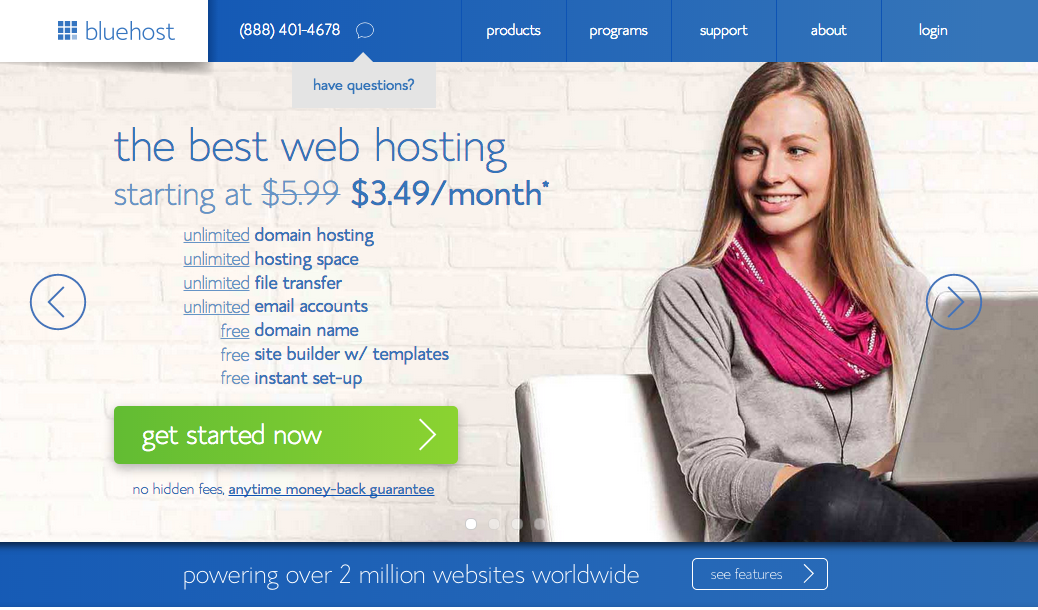
Step 1: First follow this link to get the best current rate at BlueHost, then click on the green button ‘Get started now’.
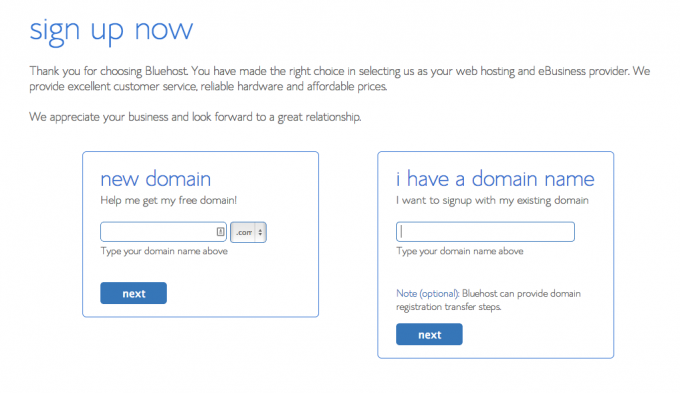
Step 2: Here you get to chose a domain name for your blog. If you already bought a domain elsewhere you have the option to add it here. As you get a the domain for free for the first year you won’t need to get a domain somewhere else. When choosing a new domain make sure to pick a domain name that represents you the best (obviously domains like www.makeup.com are of course already taken).
Step 3: Submit your personal information, make sure all is correct.

Step 4:
Now scroll down to the “package information” part of the from. If you want to get the cheapest rate you have to choose the 36 months option. This is also a good way to keep you committed to your blogging adventure. In case you decide that blogging is not your thing you can always ask for a refund and Bluehost will returning the remaining months you have not used. If 36 month overall rate is too much for you you can always pick 12 or 24 months, the overall price will decrease but the price per month will not be as good.
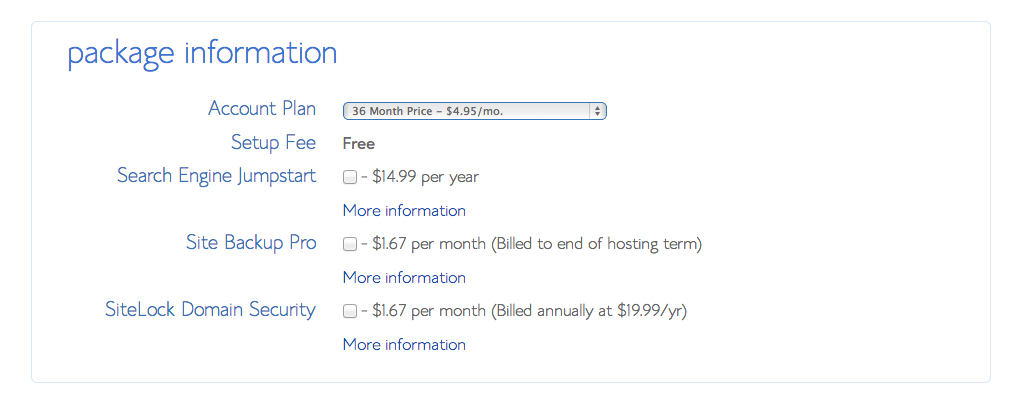
For the other additional services you see above, the only one we think is really essential to get is “Site Backup Pro“. Backups are very important so you never risk to lose all the work and energy you put in your blog. In case you are in a low budget you can use a free backup plugin like BackUpPup instead of the paid option Bluehost offers.
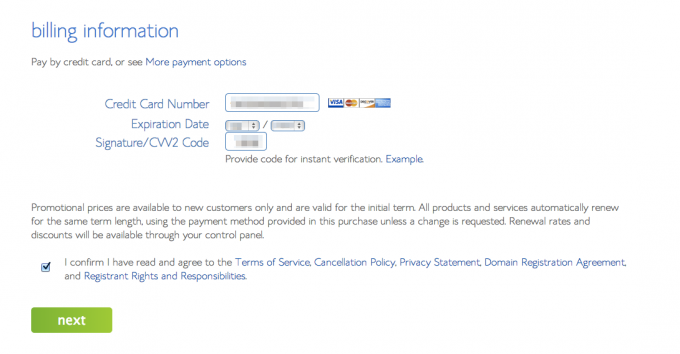
Step 5: Now you have to enter your billing info, don’t forget agree to TOS so you can continue.
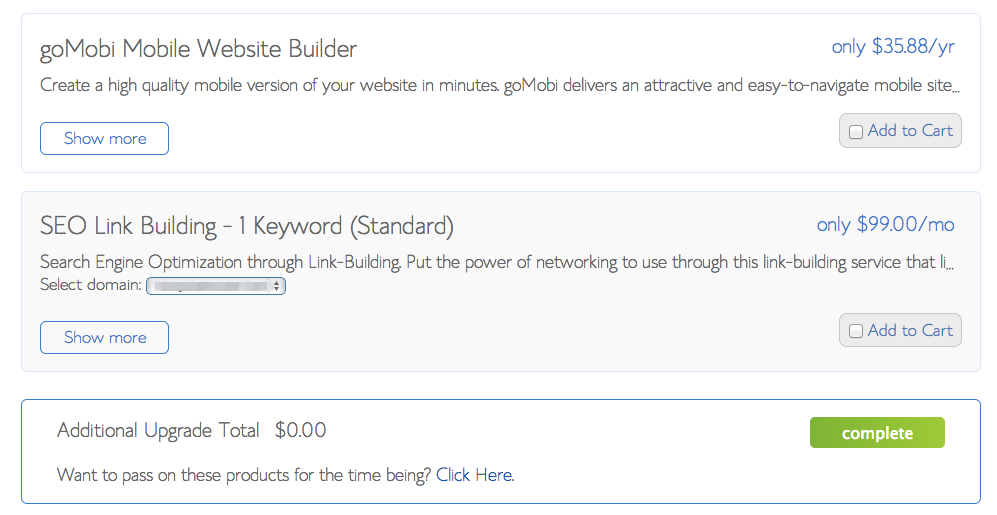
 Step 6: Here are a few more services BlueHost offers, they are not essential and you can always add them later in case you need them in the future, just click the “click here” button.
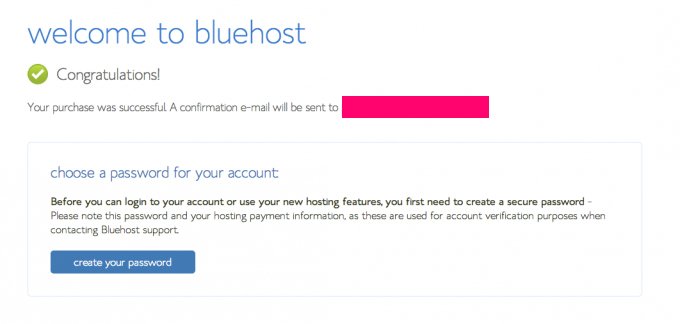
Step 7: Good For You Girl! you now have your first hosting account. Now is time to choose your password.
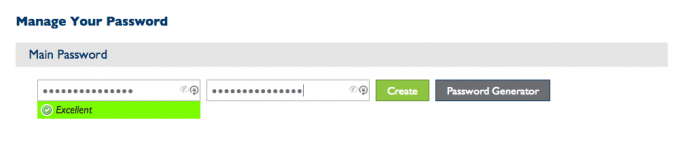
Step 8: Here you get to choose your password. Make sure you pick a safe password so your site is safe from hack attempts. Use a few symbols like @#$ and make sure some letters are in caps lock. I good example of a strong password may be Cuteness!@#32!.
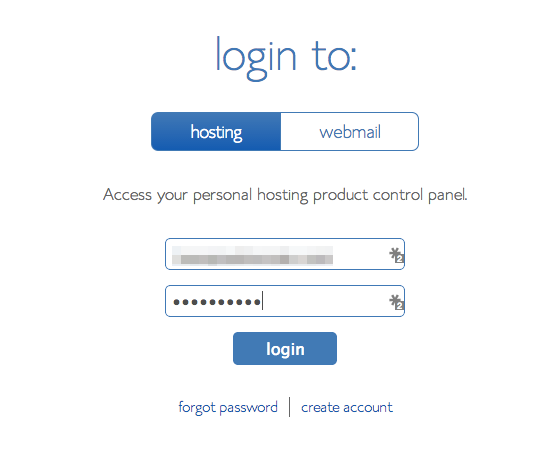
Step 9: Now that you have a password you can easily log into your Bluehost account. Make sure you log in is set at ‘hosting’.
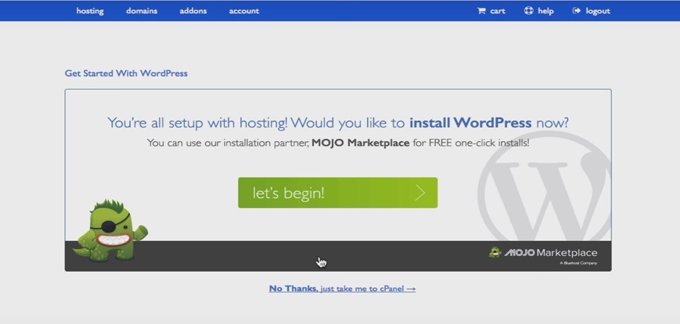
Step 10: Remember we told you will need a CMS system? Now is time to install WordPress into your hosting account. In case you wonder ‘why WordPress?’ rest assured there is not better system. WordPress is currently powering a staggering 25% of the web and is so easy to use. You will we surprised. Once you log in, a pop up will offer you to install it. Just Click “Let’s begin”.
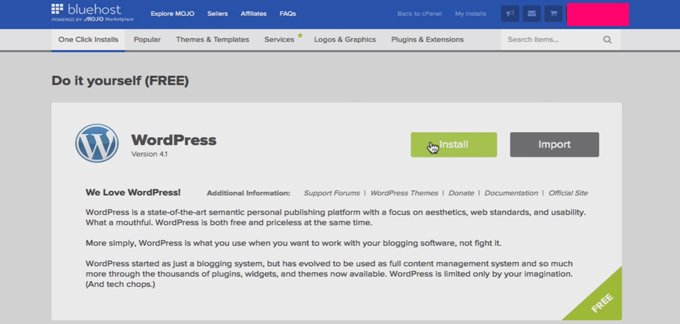
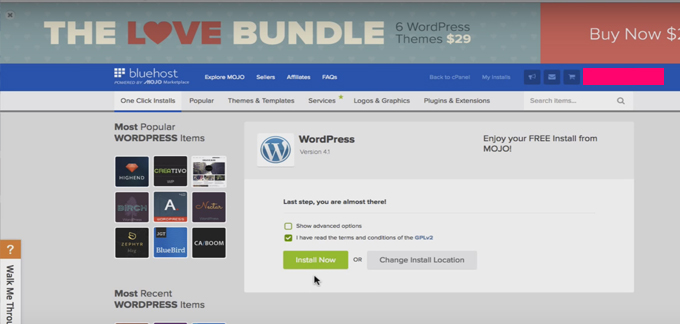
Step 11: Now Just accept the terms and click “Install WordPress”
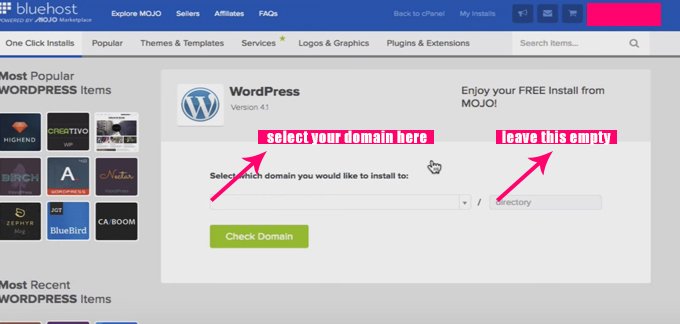
Step 12: Select your domain from the drop down menu. Leave the second option blank and click “check domain”.
Step 13: Now Just accept the terms and click “install WordPress”
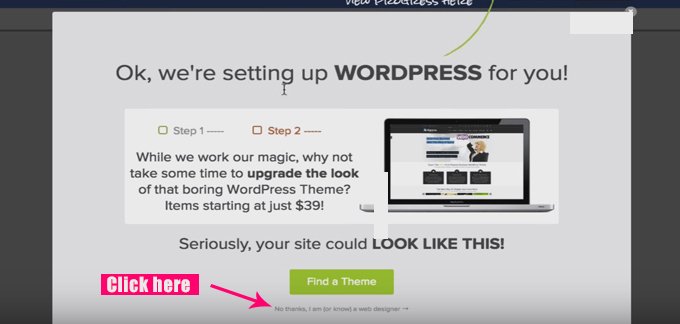
Step 14: In this new window BlueHost will offer you some themes. Click “no thanks”. Below we will hook you up with the best theme provider so you will not be needing this.
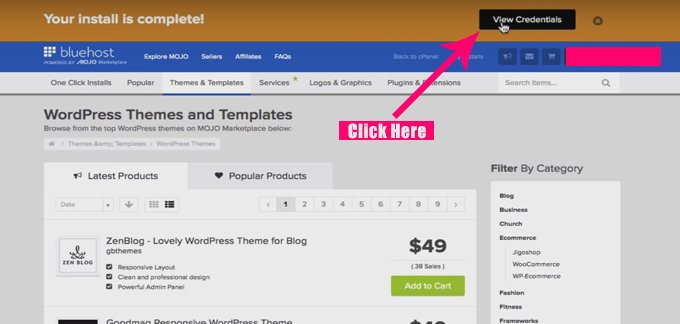
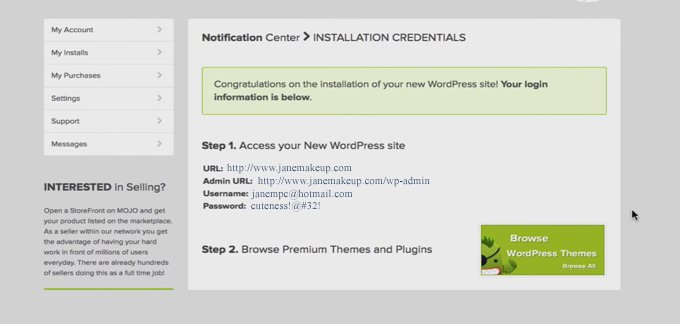
 Step 15: You can now view your credentials by clicking “view credentials”. Make sure you save your credentials, you will need them to access your site from now on.
Scroll down and click “view”…
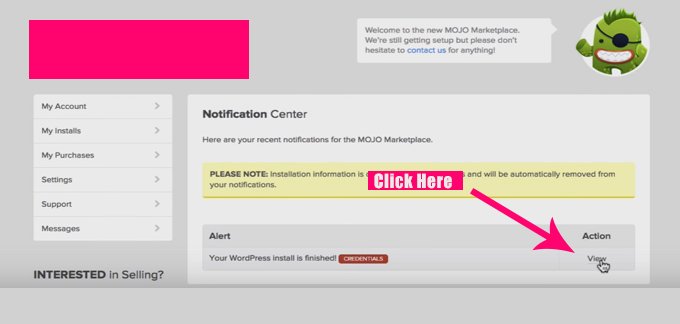
And finally here are your credentials to login to your blog’s back end.
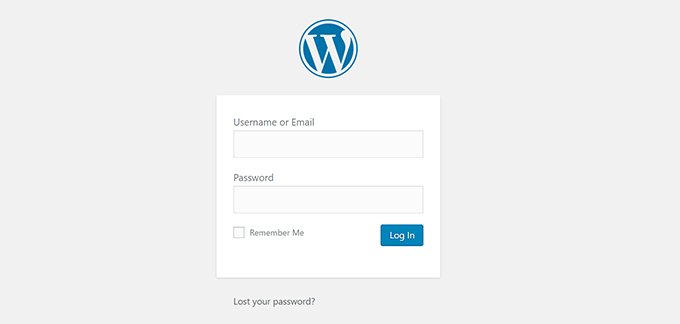
Step 16: You can now Login into your new blog! Just click in the admin URL link and type your username and password.
Congratulations you are now officially a blogger! We wish you the best in your blogging journey. Thanks for following our tutorial on how to start a blog at Girlterest.com.
So how much time did it take for you? Share your experience in the comment section below.