Coconut Oil Face Mask Recipes
There is a myriad of products that claim to revive pores and eliminate acne fast, but all that results from their use is an exorbitant amount of harsh chemicals on the skin that may or may not work for you. And even when they are successful, many brands aren’t effective in preventing new blemishes from forming. When you finally find the golden product, you’re stunned by the price tag, noting that it must quite literally be liquid gold for anyone to pay that much. As frustrating as this is, there is a solution. Mixing your own DIY face masks is a simple and stress-relieving activity and often uses ingredients you already have in your kitchen. Start making your DIY facials with beneficial and exemplary coconut oil recipes.
1Benefits of Coconut Oil: Why is DIY Coconut Oil Face Mask Good for Your Skin
Acclaimed as one of the world’s few superfoods, coconut oil is extremely versatile and is distinct in its advantages. With over 1,500 studies supporting it as one of the healthiest foods on Earth, coconut oil is prominent for its use in the skin care, hair care, digestion, and immunity disciplines.
Coconut oil contains healthy fats known as MCFAs that are antimicrobial and antifungal, cleansing your pores of unwanted contaminants. Additionally, coconut oil is unique in the fact that 91% of its fats are healthy saturated fats. Containing lauric acid, coconut oil is also antibacterial and antiviral, known to reduce candida (yeast infections) and fight bacteria in the skin. Not only is it a phenomenal cleanser, moisturizer, and sunscreen, the product is used to improve certain skin conditions. The fatty acids within coconut oil reduce inflammation while maintaining moisture within the skin, making it a perfect candidate for all skin types, from dry to oily.
The many antioxidants present within coconut oil inhibit free radicals, unstable molecules that are produced by environmental factors such as exposure to stress, alcohol, toxins found in personal care products, sun radiation, and viruses. When left unchecked, free radicals can dramatically age the skin, but coconut oil allows your skin to maintain its youthful glow by combatting them, showcasing glorious anti-aging properties. While the oil cannot reverse aged skin completely, it can slow the process. All in all, coconut oil prevents wrinkles, sagging, dryness, and flaking.
Coconut oil is also extremely useful in clearing acne scars for any that you may have and creating clearer skin overall.
2What You Should Know
Before you jump right into mixing your masks, there are a couple of general statements you should be aware of in order to produce the most effective masks. Follow these tips so as to make the most of your masks without subjecting your skin to damage!
1) Skin care is about being comfortable, so feel free to experiment with the amounts of ingredients you put in your masks. It’s okay to alter a little from the original recipe, as your skin and preferences are different and you know yourself best. You should stay generally close to it, but changing ingredient amounts to edit the thickness or amount is perfectly acceptable.
2) It is important to be aware of how often you can reapply your mask. If not explicitly stated, do some research on the ingredients contained in the recipe to determine whether they are gentle enough to be used often. If you’re not sure, it’s best to err on the side of caution, at least until you’re used to the mask.
3) Masks aren’t the only natural DIY way you can help your skin get the rest it needs. Try massaging your face with ice wrapped in a towel to relax your pores after a facial treatment and to reduce the chances of recurring acne incidents.
3Hello To Honey
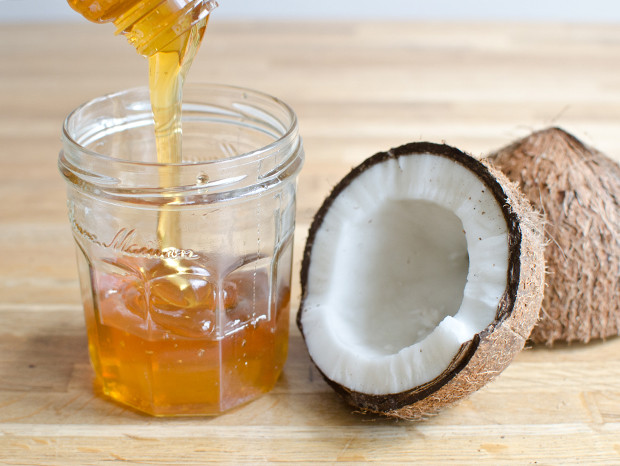
Are you looking for a mask that’s tailored to you? This coconut oil and honey mask is stellar for pampering and refreshing your complexion.
Honey is another natural ingredient that stands above the rest because of its many enriching qualities. First of all, it’s an antibacterial, killing off any bacteria in your skin safely and organically. Similarly to coconut oil, the high presence of antioxidants allows for decreased activity of free radicals and is integral to the anti-aging process in skin cells. Lastly but importantly, honey is an astounding moisturizer, providing hydration for a supple and colorful complexion.
So before we begin the mask, what can you expect from a face mask with the main ingredients of coconut oil and honey? They both provide antibacterial and similar properties, which we can predict will result in the elimination of acne and other blemishes. Both are rich in antioxidants that can slow the aging process and reduce the appearance of scars and are amazing moisturizers that will leave our skin feeling fresh and ready to take on the day.
For this recipe, you will need 1 tablespoon of coconut oil, 2 teaspoons of honey, and 1 teaspoon of lemon juice. The lemon is designed to reduce and tighten pores as well as brighten skin. The type of honey you use in your recipe is up to you, but many beauty gurus recommend raw, 100% natural honey for the best results. Mix the coconut oil and honey together in a bowl until they are well-dispersed between each other.
One of the things open to interpretation about this mask is the thickness you wish the mask to be. While it may apply thick due to the consistency of both the honey and coconut oil, the mask will soften up while on the skin. It’s best to try the exact recipe during your first try and make any adjustments if necessary later on.
Before you apply, be sure to have washed both your hands and face with warm soap and water so as to mitigate any contamination risks. Take a power nap for 15-20 minutes. Because this mask is a little sticky, it is important to wash it off gently with warm water so that you won’t have any residue left over.
4Oat Oasis
For all skin types, an oat facial mask is an amazing opportunity to get rid of those stubborn pimples and pesky blackheads once and for all!
There’s a reason why oatmeal is present in so many skin-soothing creams and washes; it does wonders for reducing inflammation and providing relief for your skin. It helps sensitive skin types by eliminating irritation and contains saponins which remove dirt from your pores. Oats remove dry skin to treat dry skin and conversely, can absorb excess oil from those with oily skin. Lastly, its healing properties allow oatmeal to be paramount in healing acne and acne scars.
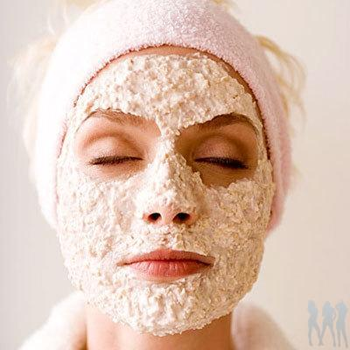
For this recipe, you’ll need 1 tablespoon of coconut oil, 3 tablespoons of oatmeal, and warm water. To begin with, put the oatmeal into a bowl and continue stirring in warm water until the resulting product has a paste-like consistency. Next, mix in the coconut oil until evenly mixed throughout the paste. After making sure that both your hands and face have been cleansed with warm soap and water, apply the paste in a circular pattern so as to exfoliate your skin.
Read a bit of your favorite book for 15 minutes until it comes time for you to remove the mask. Once the time increment has passed, wash the mask off with cool water and dry your face with a clean towel.
Depending on your preferences, you may want to finish off with a light moisturizer atop your skin.
5Baking Soda For Blackheads
You’ve tried everything, but nothing seems to stick. Here is a heavy duty mask that will get the job done and pull those blackheads from your pores.
Baking soda is a harsh material, and it should be noted that this mask should not be done frequently, once a week, at the most. Baking soda is an extraordinary cleanser and will quickly expel any dead skin or dirt clogging up your pores for an instantly brighter complexion.
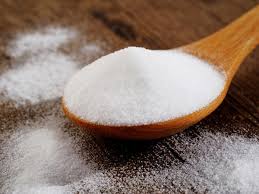
You’ll need 1 tablespoon of coconut oil and 1 teaspoon of baking soda for this recipe. Start by mixing the coconut oil and baking soda until you form a paste. Please remember that this is not a full-face mask; you should only apply this formula to the parts of your face where blackheads are frequent., such as your nose, chin, etc. You have to stay active for this mask, and in order to lift up the blackheads out of your pores, some muscle work is required. Rub the paste in circles for 5-10 minutes, after having been sure to have washed your hands and face gently with warm soap and water. After you have satisfied the time limit, rinse off the paste with cold water and pat your face dry with a soft towel.
If you have very sensitive skin, your face may be red from rubbing the baking soda paste around for so long. In order to alleviate this, apply a moisturizer that contains raspberry, as that is key in reducing redness and inflammation. After this paste, you have the option of applying a light moisturizer to replace lost moisture, or you can choose to keep your pores clear for as long as you can before you have to put on makeup the next day.

